How to Use Paper Self Adhesive for Your Craft Projects?
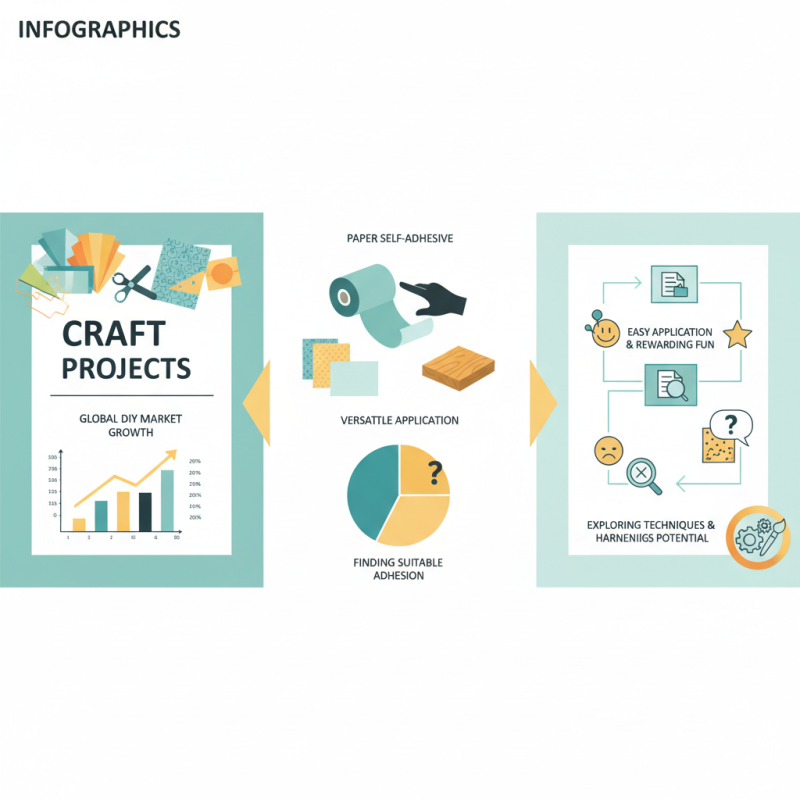
Craft projects have gained immense popularity, with the global DIY market reaching over $100 billion in 2021. One essential tool in this growing domain is "Paper Self Adhesive." These versatile materials enhance creativity and simplify project execution. According to a report by IBISWorld, craft supplies, including adhesives, are expected to see consistent growth over the next five years.
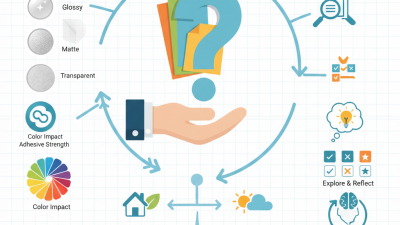
Understanding the nuances of using Paper Self Adhesive can elevate your crafting experience. This medium allows for easy application on various surfaces, making it ideal for scrapbookers, artists, and DIY enthusiasts. However, it is crucial to choose the right type and finish for your specific project. A survey by Statista found that 45% of crafters experience difficulty in finding suitable adhesion solutions.
Despite its advantages, some users find challenges with Paper Self Adhesive. It may not always adhere well on textured surfaces, and it's essential to test it first. Crafting should be both fun and rewarding, so learning from these hurdles can lead to better results. In exploring various techniques and applications, crafters can truly harness the potential of Paper Self Adhesive.
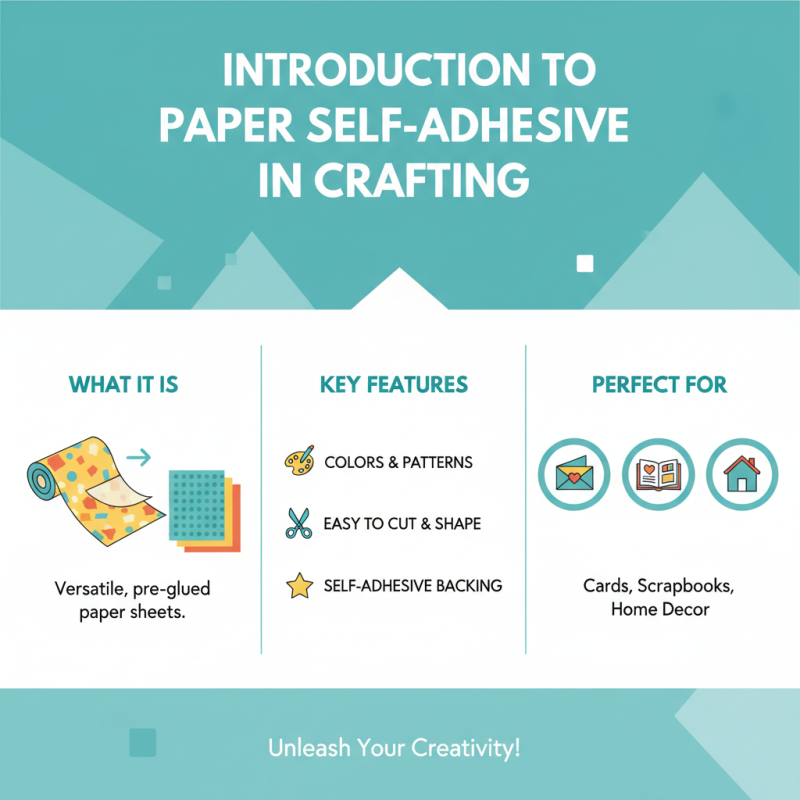
Introduction to Paper Self Adhesive in Crafting
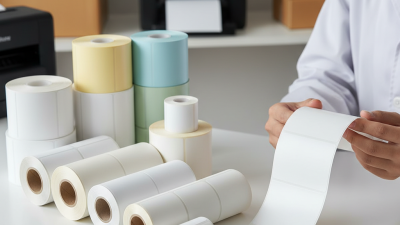
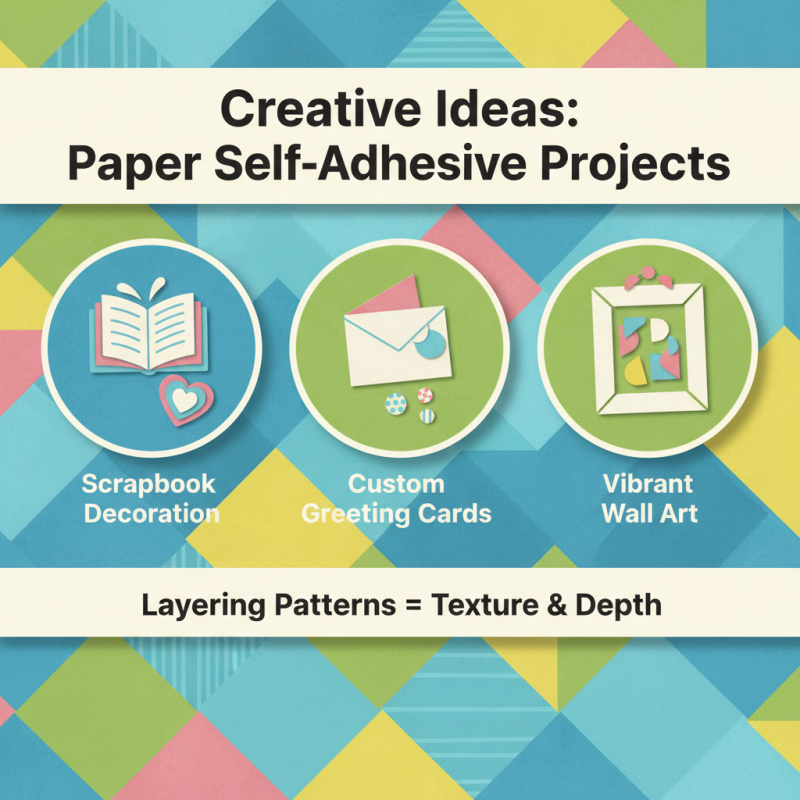
Paper self-adhesive sheets are a versatile tool for crafters. They offer a unique way to enhance various projects. Available in numerous colors and patterns, they allow you to add a personal touch. You can use them on cards, scrapbooks, or decorative items around your home. The ease of cutting them into shapes makes them a favorite among both beginners and seasoned crafters.
When working with self-adhesive paper, it's crucial to plan your project. Consider the materials you will use in conjunction. Sometimes, the adhesive might not stick as well to textured surfaces. Testing on a small area can save time and frustration. Also, aligning your cuts precisely is important. Uneven edges can lead to disappointing results. You might find yourself peeling the paper off repeatedly, which is not ideal.
Another aspect to reflect on is the amount of waste generated. While using paper, some pieces may end up discarded. Embracing mistakes can lead to creative solutions, like collages or mixed media. Experimenting with various techniques can be enlightening. Just remember, each craft journey has its learning curve.
Types of Paper Self Adhesive Available for Craft Projects
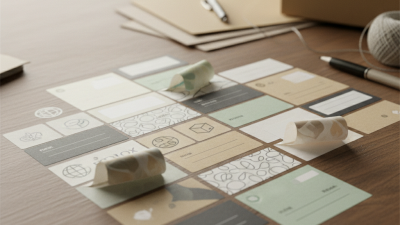
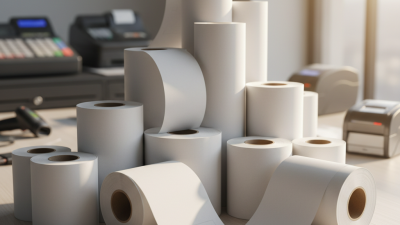
When considering paper self-adhesive options for craft projects, various types cater to specific needs. For instance, removable adhesive paper works well for temporary applications. It's ideal for creating mock-ups or seasonal decor, allowing for easy repositioning without harming surfaces. According to recent data, over 45% of crafters prefer materials that offer versatility in their projects.
There’s also permanent adhesive paper, suited for long-lasting creations. This type adheres firmly, making it perfect for scrapbooking or home decor. Reports indicate that approximately 30% of crafters choose permanent adhesives for their durability. Moreover, specialty papers, like those with textures or patterns, add unique elements to crafts. Data shows that around 20% of crafters actively seek out textured or colored paper to enhance visual appeal.
Crafting with self-adhesive paper can offer varied results. Misalignment or improper placement can lead to frustration. Many users report struggles with bubbles or crinkles in the adhesive. While these papers provide convenience, they demand careful handling. Crafters sometimes overlook the importance of surface preparation, leading to less satisfying outcomes.
Essential Tools and Materials for Using Paper Self Adhesive
When working on craft projects, having the right tools and materials is crucial. Paper self-adhesive is versatile. It adds a unique touch to your artwork. Start by gathering a few essential items.
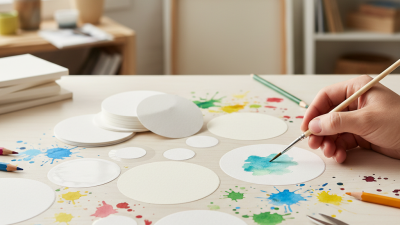
You'll need scissors or a craft knife for cutting. A ruler will help you measure and create straight lines. A cutting mat protects your work surface. Tweezers are great for positioning small pieces accurately. Don't forget to have a clean workspace to avoid any sticky mishaps. A clear adhesive roller can also help with uneven surfaces.
Tips: Test materials on scrap paper first. This prevents mistakes on your final piece. When cutting, press firmly but carefully. Mistakes can be fixed. If your adhesive isn't sticking well, check the surface. Clean it thoroughly before applying. Remember, crafting is a process. Embrace imperfections; they often lead to creative solutions.
Paper Self Adhesive Usage in Craft Projects
Step-by-Step Guide to Applying Paper Self Adhesive in Crafts
Creating with paper self-adhesive can be exciting and rewarding. This versatile material simplifies the craft process. Let’s explore how to apply it effectively.
Start by choosing a clean, flat surface to work on. Measure the area you plan to cover. Cut your adhesive paper slightly larger than that area, allowing for adjustments. Peel back a corner of the backing and position the paper carefully. This step is crucial. Avoid any bubbles by pressing from the center to the edges gently. Remember, practice makes perfect here. You might not get it right the first time.
Tips: If you accidentally create a bubble, don’t panic. Use a pin to puncture it, then press it down smoothly. For intricate designs, a craft knife can help cut precise shapes. Experiment with layering different patterns. It’s okay if things don’t turn out as expected. Reflect on your approach and adjust as needed. Crafting is a journey of trial and error, allowing for creative growth.
How to Use Paper Self Adhesive for Your Craft Projects? - Step-by-Step Guide to Applying Paper Self Adhesive in Crafts
| Step |
Description |
Tips |
| 1 |
Gather your materials including paper self-adhesive, scissors, and craft surfaces. |
Choose a clean, flat surface to work on for best results. |
| 2 |
Cut the paper self-adhesive to the desired shape and size. |
Use a ruler for straight edges and precise cutting. |
| 3 |
Peel off the backing paper carefully. |
Avoid touching the adhesive side to keep it clean. |
| 4 |
Position the adhesive paper onto your chosen surface. |
Start from one edge and slowly lay it down to avoid air bubbles. |
| 5 |
Smooth out any bubbles with a flat edge like a ruler. |
Work from the center outwards for the best result. |
| 6 |
Trim any excess edges for a clean finish. |
Use sharp scissors for a precise cut. |


 +86-15362608169