How to Create Stunning Vinyl Cut Stickers at Home?
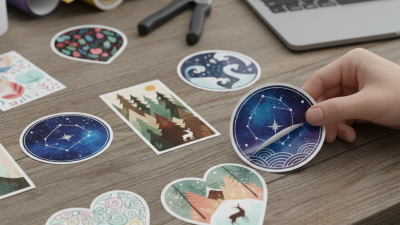
Creating stunning vinyl cut stickers at home is an exciting and creative endeavor. With the right tools and materials, anyone can design eye-catching stickers that reflect their unique style. Vinyl cut stickers are versatile. They can be used for personalizing items, promoting a business, or simply for fun.
When venturing into this world, it's essential to understand the basics. Knowledge about vinyl types, cutting machines, and design software is crucial. Mistakes are part of the learning curve, so be prepared to encounter challenges along the way. Your first attempts may not be perfect, but that's okay. Each sticker created provides valuable insight into the process.
Exploring various themes and techniques can enhance your skills. Experimenting with different colors and finishes can yield surprising results. Remember, the journey of creating vinyl cut stickers is as rewarding as the final product. Embrace the imperfections and keep refining your approach. Your creativity has no limits!
Choosing the Right Equipment and Materials for Vinyl Cutting
When it comes to creating stunning vinyl cut stickers, choosing the right equipment and materials is crucial. Not all vinyl is created equal. There are various types, including calendared and cast vinyl, which differ in flexibility and durability. Calendared vinyl is thicker, making it suitable for short-term applications. Cast vinyl, on the other hand, is thinner yet more durable, ideal for longer-lasting designs. According to the Specialty Graphic Imaging Association, up to 70% of successful sticker projects rely on selecting high-quality materials.
The cutting machine you choose also plays a significant role. Entry-level machines might lack precision, leading to numerous design flaws. A study by the International Sign Association shows that machines with optical sensors can improve cutting accuracy by up to 25%. This can save time and reduce material waste.
It's essential to consider the software used for designing stickers. Software compatibility with your cutting machine impacts the workflow. Many users report frustrations when interfaces are clunky or unresponsive. These challenges can lead to design discrepancies, making it clear that investing time in the right tools directly affects the quality of your final product.
Designing Eye-Catching Stickers Using Graphic Software
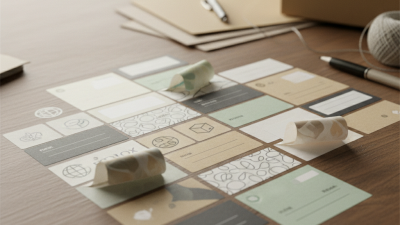
Creating eye-catching stickers begins with a solid design. Start by selecting a graphic design software that suits your needs. Popular options include free tools and paid programs. Familiarize yourself with the software's features. Spend time exploring different tools, colors, and fonts. Don't hesitate to experiment; sometimes the best ideas come from unexpected combinations.
Designing with clarity is essential. Keep your design simple yet impactful. Overly complex graphics can lose detail once cut. Use bold shapes and striking colors to attract attention. Make sure your designs are compatible with the vinyl cutting machine. This requires a proper file format. Understanding how to convert files properly is crucial. Check your design’s dimensions before cutting. A small mistake can lead to wasted materials.
While creating stickers, remember that perfection is elusive. You might face challenges in aligning cuts or achieving clean edges. Each attempt provides valuable lessons. Don't be discouraged by minor errors; they are part of the creative process. Analyze what went wrong and adjust your technique next time. This reflective approach will enhance your skills over time.
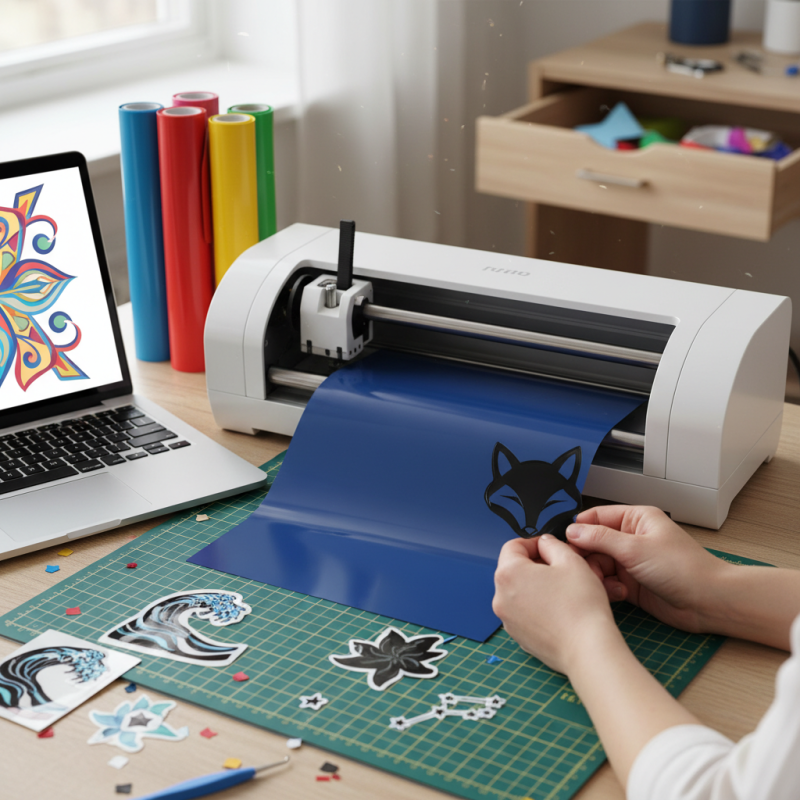
Preparing the Vinyl and Cutting It with a Machine
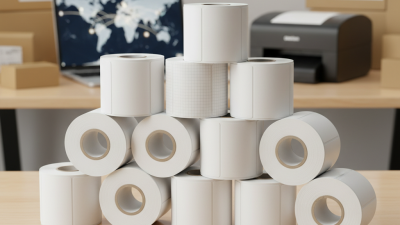
Preparing vinyl for cutting is an essential step in creating beautiful stickers. Start by selecting high-quality vinyl sheets. Ensure the vinyl is compatible with your cutting machine. Clean the surface where you will be working. Dust and debris can affect the final product.
Next, load the vinyl into the cutting machine. Make sure it's aligned correctly to avoid wasted material. Adjust the blade settings based on the vinyl thickness. Test cuts are helpful to ensure the right blade depth. Sometimes, a single pass may not cut through cleanly. You might need to experiment a little.
Tips for success include using a light grip transfer tape. This prevents the stickers from tearing during application. Also, consider weeding tools for easier vinyl removal. Patience is key. It might take a few attempts to get it right. Keep practicing and refining your technique. Remember, each project is a learning opportunity.
Weeding and Transfer Techniques for Vinyl Stickers
Weeding can be a meticulous process. After cutting your vinyl, you must remove the excess material carefully. Use a weeding tool to lift corners and edges. This might sound simple, but if you rush, you can damage your design. Take your time to ensure precision. Remember that intricate designs require more attention. Sometimes, a small mistake here can ruin your entire project.
Transfer techniques are equally important. Once the design is weeded, you need to transfer it onto your surface. Use transfer tape to lift the vinyl from its backing. Apply the tape gently, ensuring it adheres smoothly to your design. Air bubbles can create issues later. When placing it on the desired surface, use a squeegee. This helps eliminate bubbles and ensures a firm bond. Mistakes can happen, like misalignment. If it occurs, try to carefully peel it back without tearing.
Experimentation is vital. Each vinyl type behaves differently. You may face challenges, such as vinyl not adhering correctly. Document what works and what doesn’t. Learning from each project helps improve your technique. It's all part of the creative process. Keep practicing, and you'll find your rhythm over time.
How to Create Stunning Vinyl Cut Stickers at Home? - Weeding and Transfer Techniques for Vinyl Stickers
| Step |
Description |
Tools Needed |
Tips |
| 1 |
Select your design and size. |
Computer, design software. |
Choose a simple design for beginners. |
| 2 |
Cut the vinyl using a cutting machine. |
Vinyl cutting machine. |
Ensure the blade is at the correct depth. |
| 3 |
Weed out the excess vinyl. |
Weeding tool. |
Take your time to avoid tearing the design. |
| 4 |
Apply transfer tape over the design. |
Transfer tape, squeegee. |
Use a squeegee to ensure full adhesion. |
| 5 |
Position the sticker and peel off the transfer tape. |
Surface to apply sticker. |
Start from one edge to avoid air bubbles. |
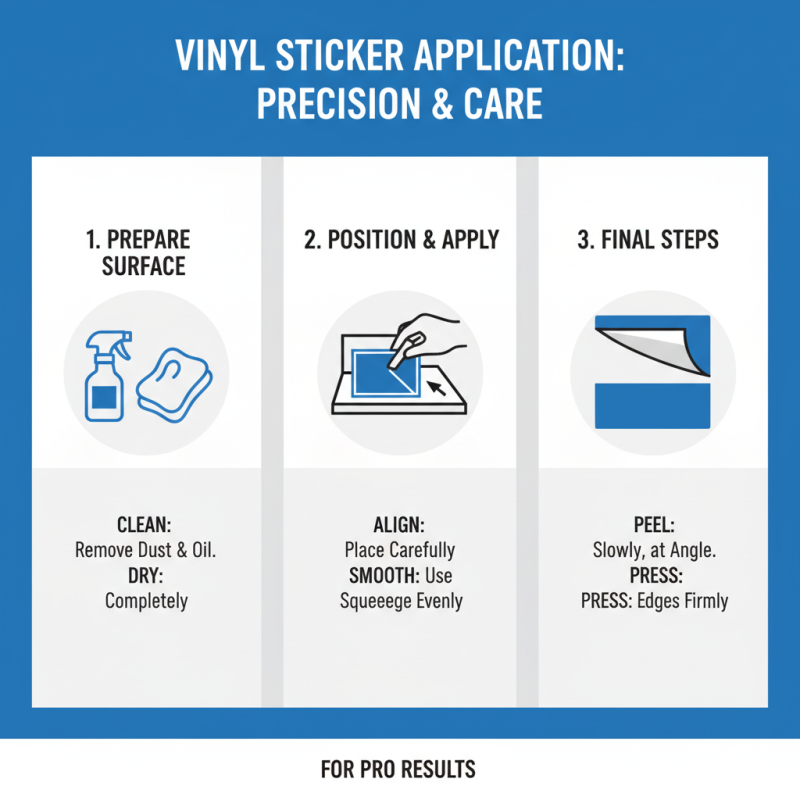
Applying Your Vinyl Cut Stickers with Precision and Care
Applying your vinyl cut stickers with precision and care is crucial for achieving professional results. Start by preparing the surface where the sticker will go. Clean it thoroughly with a mild cleaner to remove dust and oil. Dry the surface completely to ensure good adhesion. If the surface is uneven, consider using a squeegee to help press down on the sticker evenly.
When positioning your sticker, take your time. Use a ruler or measuring tape to get everything aligned perfectly. It’s easy to make mistakes here. If the sticker is already on the surface, and you see air bubbles, don’t panic. You can carefully lift a corner and use the squeegee to push out the bubbles. However, be cautious not to stretch the material.
Sometimes, despite our best efforts, the finished product may not look flawless. Wrinkles may appear or edges may lift slightly. This is part of the learning curve. Reflect on what went wrong and adjust your techniques in future projects. Every setback is an opportunity to improve your craft, leading to even more stunning results next time.


 +86-15362608169